Python Django Introduction
Django is a high-level Python Web framework that encourages rapid development and clean, pragmatic design. Built by experienced developers, it takes care of much of the hassle of Web development, so you can focus on writing your app without needing to reinvent the wheel. It’s free and open source.
1) First, install Python latest version
Python Installation
2) Installing Virtual Environment for development
Windows:
>pip install vertualenvwrapper-win
Linux:
>pip install vertualenvwrapper
3) Creating virtual environment
>mkvertualenv pyvirtualenv1
4) Switching to virtual environmment
>workon pyvirtualenv1
5) Install Django into this virtual environment using Python Package Manager(pip)
>pip install django
6) Creating a Django application using utility
Django-admin start project myFirstDjangoProject
8) Open your project in anyone the editor
PyCharm
Visual Studio Code
9) Starting the server
Open terminal for your project and run below command
>python .\manage.py runserver
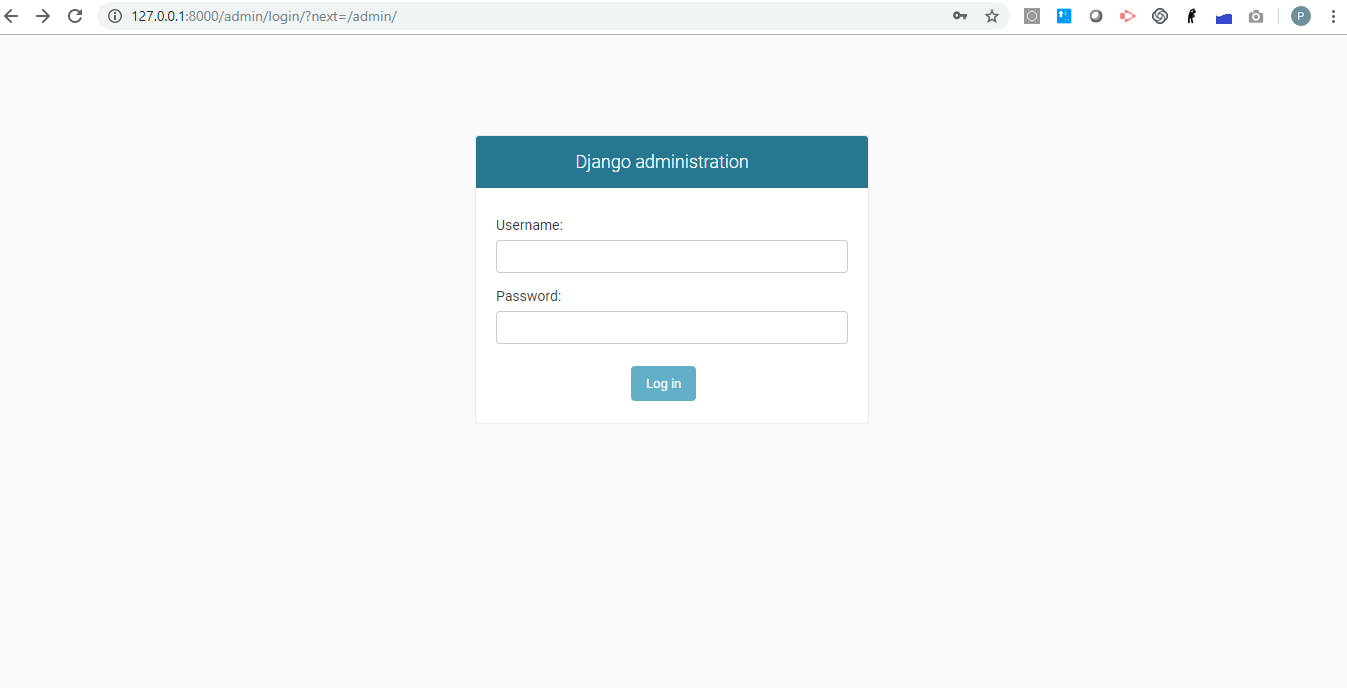
10)Browse your application!!

Once Server is started successfully and some piece of migration we need to do access the admin and so on
Console Log: You have 17 unapplied migration(s). Your project may not work properly until you apply the migrations for app(s): admin, auth, content types, sessions.
Run 'python manage.py migrate' to apply them.
Note: If you have decided to use some other databases so that migration can be done on your other databases as well. Follow the below steps:
>python manage.py migrate
11) Creating a user for Django admin
To login into the Django system need to create one superuser as below:
>python manage.py createsuperuser
once this superuser is created successfully, can verify the same in respective DB.
No comments:
Post a Comment